
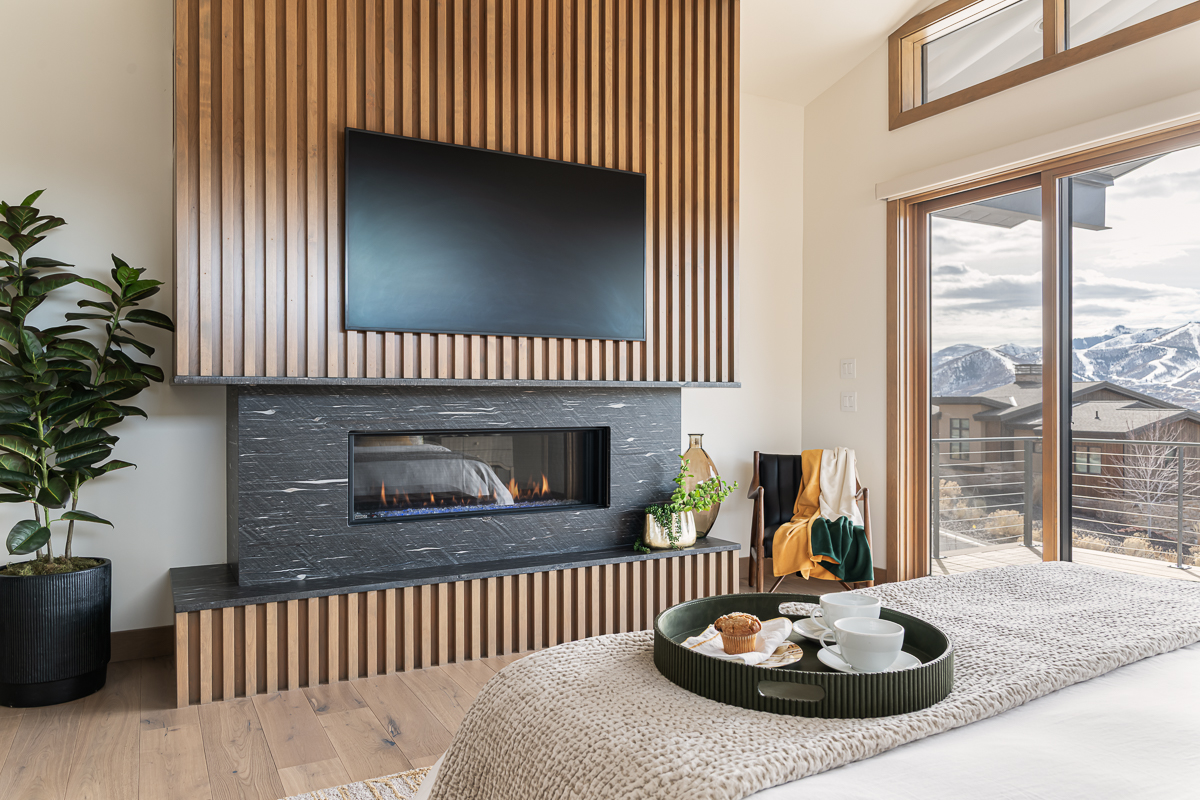
A simple, room-by-room checklist to help your Airbnb or vacation rental look its absolute best on camera.
So you’ve booked a photo shoot for your short-term rental. Exciting! Great photos can be the difference between a guest scrolling past your listing and a guest hitting “book now.” But before the photographer shows up, there’s a bit of prep work that makes a huge difference in the final images.
This guide isn’t a strict rulebook. Think of it more like a friendly nudge in the right direction, a set of ideas to help your space shine. Walk through it room by room, and you’ll be shoot-ready in no time.
Start With a Deep Clean
Cameras catch everything, even the small stuff you might walk right past every day. A thorough clean is the foundation for great photos.
- Wipe down floors, windows, counters, appliances, furniture, light fixtures, and decor.
- Clear off countertops, tables, and shelves. Anything you don’t want in the shot, tuck it away.
- In the bathroom, polish mirrors, tubs, sinks, and toilets, and put away personal toiletries.
- In the kitchen, clear off magnets and papers from the fridge, stash the cleaning supplies out of sight, and set out a fresh, attractive dish towel or two.
Declutter and Depersonalize
Guests want to picture themselves in the space, so the goal is a room that feels inviting but not overly “lived in.”
- Put away family photos and other personal items.
- Keep decor neutral, warm, and welcoming rather than themed or busy.
- If closets, cabinets, or shelves will be in the shot, straighten them up so they look tidy and organized.
Stage Each Room to Tell a Story
This is where the space really comes to life. A little bit of styling goes a long way.
Living room: Arrange the furniture so it shows off the flow of the room, then fluff up the pillows and throws. A book left open or a game mid-play on the coffee table can add a nice, lived-in touch for one shot.
Bedroom: Make the bed neatly with layered bedding, fold any extra blankets, and arrange the pillows so they look symmetrical and inviting.
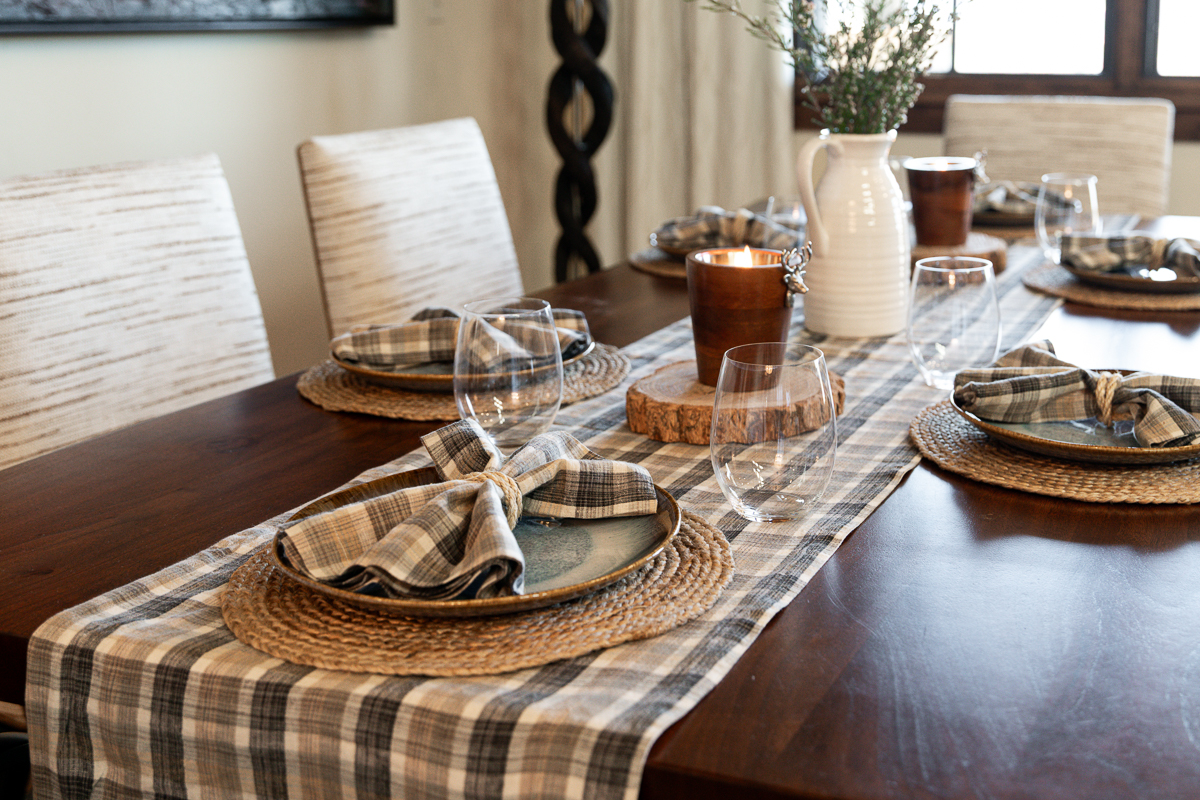
Kitchen and dining area: Keep the table setting simple. I love when a fruit bowl or a low flower arrangement adds a pop of color without overwhelming the shot.
Outdoor spaces: Hide the trash cans, arrange the patio furniture, sweep the deck, trim back any overgrown plants, and clear away hoses or other clutter.
Lighting: Open up those blinds and curtains to let in as much natural light as possible. I’ll always take a pass through the space to adjust light before I start shooting, but the more natural light we can work with from the start, the better the photos turn out.
Clear Out Visual Distractions
Small distractions add up fast in photos, so give the space one more pass to catch anything that might pull the eye away from the room itself.
- Hide cords, trash cans, and cleaning supplies.
- Take down “Do Not Disturb” signs or any temporary stickers.
- Straighten out rugs so they lie flat, not bunched up.
Add a Little Styling
A few thoughtful touches can make a space feel warm and welcoming without looking staged.
- Fresh flowers or a bit of greenery.
- Neutral, cozy accents like throw pillows, a stack of small books, or a candle.
- Skip anything overly busy or holiday-themed. Seasonal decor can date your photos fast, and you’ll want these images to work for you year-round.
Sweat the Small Stuff
These little details are easy to miss in person, but they show up clearly in photos.
- Swap out any burned-out light bulbs.
- Check that furniture is in good condition, nothing wobbly or worn.
- Fix any visible scratches or scuffs if you can.
- Give the windows a streak-free clean.
- Tuck away pets and their belongings, bowls, toys, and litter boxes included.
Timing Matters
Natural light makes a big difference, so timing your shoot well is worth the effort.
- Schedule the shoot during daylight hours whenever possible.
- For interior shots, mid-morning or mid-afternoon usually gives soft, even light.
- For exterior shots, early morning or late afternoon brings that warm, golden-hour glow.
Day-of-Shoot Checklist
Once the big day arrives, here’s a quick final pass before the photographer starts shooting.
- Keep pets and people out of the frame.
- Do one more check of your staging items: pillows, throws, fresh flowers, all of it.
- Move any cars away from the driveway for exterior shots.
The Bottom Line
Prepping your short-term rental for photography doesn’t have to be stressful. A thorough clean, a bit of thoughtful staging, and some attention to the small details will help your space photograph beautifully and give future guests a true sense of what makes your rental special. A little effort now goes a long way toward booking more stays later.
Remember…this guide isn’t a strict rulebook.
Frequently Asked Questions
How long does it take to prep a short-term rental for photos?
Most hosts spend two to four hours cleaning and staging before a shoot, depending on the size of the property. Bigger homes or those with multiple outdoor areas may take longer.
What time of day is best for Airbnb photography?
Mid-morning or mid-afternoon works best for interiors, since the light tends to be soft and even. Early morning or late afternoon golden hour is ideal for exterior shots.
Should I decorate my STR before the photo shoot?
Keep decor simple and neutral. A few fresh touches like flowers, throw pillows, or a candle work well, but avoid anything seasonal or overly busy so the photos stay useful year-round.

If you are ready to have your business professionally photographed or if you have questions about the process of hiring a commercial photographer, please reach out. I’m happy to help!
Mastering Architectural Photography with Your Smartphone
In architectural photography, it's not merely about taking pictures. It's about seeing—the light, the line, and the life of buildings. An expert with any camera, including the one in your pocket, learns this through practice and patience. The photo below was shot with...
Real Estate Photography vs. Architectural Photography
As an architectural photographer I’ve been asked difference between my work and real estate photography a few times, so I decided to highlight the similarities and differences between them. Real estate photography and architectural photography might seem synonymous;...
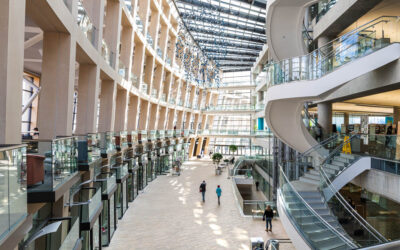
Shadow and Light – The Downtown Public Library
The first time I walked into the Downtown Public Library, I knew I needed to return with my camera. Its shape and curves create a blend of shadows and light that inspired me. I also appreciated the human element of the space. It’s a third place that welcomes all walks...
0 Comments